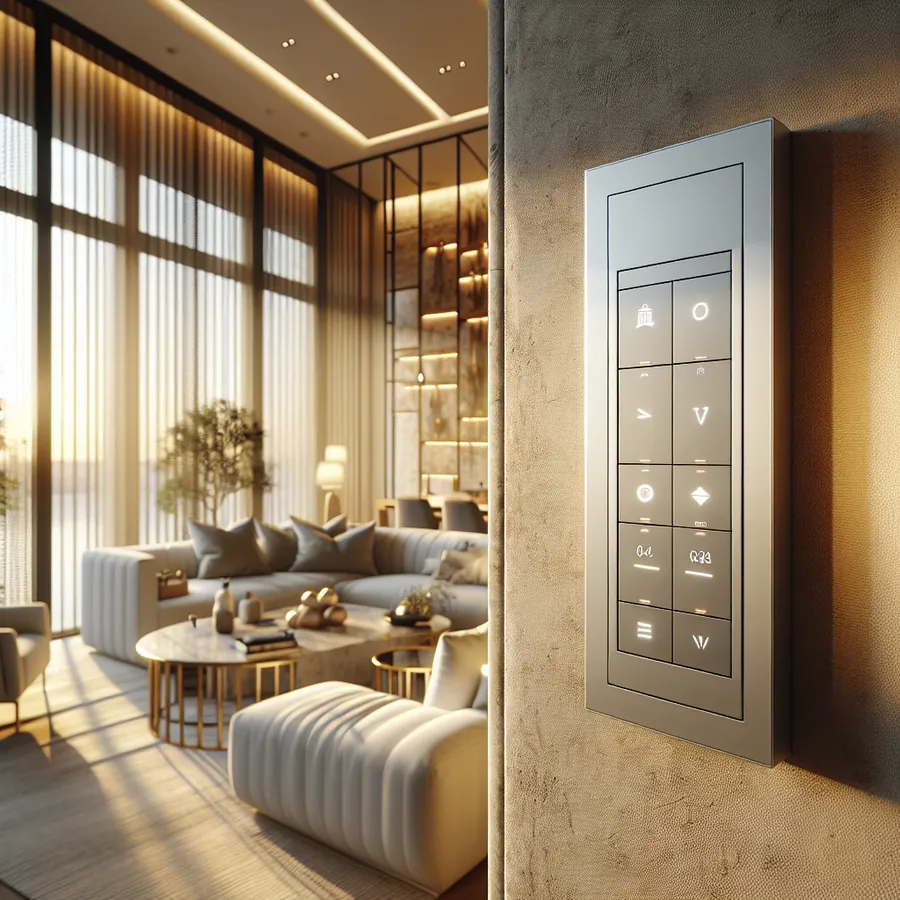
HomeWorks QS Motorized Shades and Keypad Integration: Expert Best Practices for Flawless Automation
Imagine walking into your living room as the afternoon sun begins its descent. Without lifting a finger, your shades gracefully lower to the perfect position, diffusing golden light across the room while protecting your furnishings from UV damage. A single tap on an elegantly designed keypad transforms your space from bright workspace to intimate entertainment zone. This isn't science fiction—it's the everyday reality of a properly integrated Lutron HomeWorks QS system.
As HomeWorks dealers who've configured hundreds of these systems, we at IxomeAI understand that the magic lies not just in the hardware, but in the meticulous integration between motorized shades and keypads. Get it right, and you've created an invisible symphony of comfort and convenience. Get it wrong, and you're left with frustrated clients and service callbacks that eat into your margins.
Let's dive deep into the best practices that separate amateur installations from truly professional HomeWorks QS deployments.
Understanding the HomeWorks QS Ecosystem
Before we discuss integration specifics, it's crucial to understand how the HomeWorks QS architecture handles shade control. Unlike simpler systems, HomeWorks QS treats shades as first-class citizens in its control hierarchy, offering granular control over position, tilt (for Venetian-style shades), and grouping behaviors.
The system communicates via the QS wireless protocol (Clear Connect RF) or through wired QS Link connections, depending on your shade motor choice. This flexibility means you can mix wired and wireless components within the same installation—a significant advantage when retrofitting existing homes or dealing with challenging architectural conditions.
Shade and Keypad Compatibility Matrix
Not all shades and keypads play together equally. Here's your essential compatibility reference:
Motorized Shade Compatibility
| Shade Type | Motor Options | QS Link (Wired) | Clear Connect (Wireless) | Tilt Control |
|---|---|---|---|---|
| Sivoia QS Roller | QS Motor | ✓ | ✓ | N/A |
| Sivoia QS Venetian | QS Motor | ✓ | ✓ | ✓ |
| Sivoia QS Triathlon | Battery-Powered | ✗ | ✓ | N/A |
| Sivoia QS Wireless | Rechargeable | ✗ | ✓ | N/A |
| Palladiom Shading | QS Motor | ✓ | ✓ | Varies |
| Kirbe Vertical Drapery | QS Motor | ✓ | ✓ | N/A |
Keypad Compatibility
| Keypad Model | Button Options | Shade Control | Scene Integration | Engraving Available |
|---|---|---|---|---|
| seeTouch | 1-10 buttons | Full | ✓ | ✓ |
| Palladiom | 1-6 buttons | Full | ✓ | ✓ |
| Alisse | 1-5 buttons | Full | ✓ | ✓ |
| International seeTouch | 1-10 buttons | Full | ✓ | ✓ |
| Pico (Wireless) | 2-4 buttons | Limited | Scene Only | ✗ |
Pro Tip: For dedicated shade control, we recommend the seeTouch keypad with raise/lower/preset buttons. The tactile feedback and LED indicators provide clear user confirmation that's often missing with touchscreen-only solutions. Check out our community discussion on keypad selection strategies for real-world installer insights.
Step-by-Step Integration Guide
Step 1: System Architecture Planning
Before touching any hardware, map out your shade zones and control points. Consider:
- Natural groupings: Which shades should move together? East-facing windows might share a schedule, while a home theater requires independent blackout control.
- User workflows: Where will occupants naturally want to control shades? Bedside, entry points, and primary seating areas are obvious choices.
- Failsafe positions: What should happen during power outages or system failures?
Document everything in Lutron's Designer software before procurement. This prevents the costly mistake of ordering insufficient processor capacity or incompatible components.
Step 2: Processor Configuration
Your HomeWorks QS processor is the brain of the operation. For shade integration:
- Add shade devices to your project in Designer software, specifying exact motor types and addressing.
- Configure shade groups for coordinated control. Name them intuitively—"Master Bedroom East" beats "Shade Group 7."
- Set travel limits during commissioning. This is non-negotiable; improper limits cause motor strain and premature failure.
- Define preset positions (typically 0%, 25%, 50%, 75%, 100%) that keypads can call.
Step 3: Keypad Button Assignment
This is where the magic happens. For each keypad controlling shades:
Assign raise/lower functions to dedicated buttons. Use the "press and hold" behavior for continuous movement, "tap" for preset recall.
Program scene buttons that combine shade positions with lighting levels. A "Movie Night" scene might close all shades to 100% while dimming lights to 20%.
Configure LED feedback so users know shade status at a glance. We recommend:
- LED off = shades fully open
- LED dim = shades at preset
- LED bright = shades fully closed
Enable double-tap behaviors for power users who want quick access to full open/close without holding buttons.
For detailed programming walkthroughs, our HomeWorks QS programming tips thread contains code snippets and configuration files shared by experienced integrators.
Step 4: Timing and Synchronization
Nothing screams "amateur installation" like shades that move at different speeds or arrive at positions out of sync. Address this by:
- Calibrating motor speeds during commissioning so grouped shades travel together.
- Adding appropriate delays when triggering multiple shade groups to prevent processor overload.
- Testing scene transitions with actual occupants to ensure timing feels natural, not robotic.
Step 5: Integration Testing Protocol
Before client handoff, run through this checklist:
- All keypads trigger correct shade responses
- Scene buttons activate shades AND lighting simultaneously
- Raise/lower buttons work with press-and-hold AND tap behaviors
- LED indicators accurately reflect shade status
- Shade groups move in synchronization
- Preset positions are accurate and repeatable
- System recovers gracefully from power interruption
Advanced Integration: Astronomical Timeclock and Sensors
The true power of HomeWorks QS emerges when you integrate shades with the system's astronomical timeclock and optional sensors.
Astronomical Timeclock Programming
Configure shades to respond to actual sunrise/sunset times (adjusted for your installation's latitude/longitude):
- Morning routine: Shades open gradually 30 minutes after sunrise, synchronized with wake-up lighting scenes.
- Afternoon protection: South and west-facing shades lower automatically during peak UV hours.
- Evening transition: Shades close at sunset for privacy, coordinated with pathway lighting activation.
Sensor Integration
For installations with Lutron's occupancy sensors or third-party light sensors:
- Vacancy response: Shades return to energy-efficient positions when rooms are unoccupied.
- Daylight harvesting: Shades adjust automatically to maintain consistent interior light levels, reducing HVAC and lighting loads.
Our sensor integration best practices thread covers the nuances of combining occupancy detection with shade automation.
The Future: AI and Smart Home Integration
The smart home landscape is evolving rapidly, and HomeWorks QS is positioned to remain relevant through its robust integration capabilities.
Voice Control Integration
HomeWorks QS integrates seamlessly with major voice platforms:
- Amazon Alexa: Native skill support for shade control via voice commands.
- Google Home: Works with Google integration for voice-activated scenes.
- Apple HomeKit: Lutron's HomeKit bridge enables Siri control and Home app visibility.
AI-Powered Automation
The next frontier involves machine learning algorithms that:
- Learn occupant preferences over time, automatically adjusting shade positions based on historical patterns.
- Predict optimal positions using weather forecasts, calendar events, and energy pricing data.
- Coordinate with HVAC systems for whole-home energy optimization.
While Lutron hasn't announced native AI features, the system's open API and integration with platforms like Control4, Crestron, and Savant means AI capabilities can be layered on top of your HomeWorks QS foundation.
Matter and Thread Compatibility
Lutron has committed to Matter support, ensuring HomeWorks QS installations remain compatible with the emerging smart home standard. This future-proofs your clients' investments and opens doors to integration with an ever-expanding ecosystem of Matter-certified devices.
Frequently Asked Questions
Q: Can I control HomeWorks QS shades from my smartphone? A: Yes, the Lutron HomeWorks app provides full shade control from iOS and Android devices when connected to your home network or remotely via Lutron's cloud service.
Q: How many shades can a single HomeWorks QS processor control? A: Depending on the processor model, you can control up to 128 devices (including shades, lights, and keypads) on a single system. Larger installations may require multiple processors linked together.
Q: Do motorized shades work during a power outage? A: Wired shades require power to operate. Battery-powered options like Sivoia QS Triathlon continue functioning during outages. For critical applications, consider UPS backup for your processor and wired shade motors.
Q: Can I integrate third-party motorized shades with HomeWorks QS? A: HomeWorks QS is designed for Lutron shade products. Third-party integration is possible through contact closure interfaces or integration protocols, but native functionality and warranty coverage apply only to Lutron products.
Q: What's the typical lifespan of Sivoia QS shade motors? A: With proper installation and limit configuration, Sivoia QS motors typically last 10-15 years under normal residential use. Commercial applications with higher cycle counts may see shorter lifespans.
Q: How do I troubleshoot shades that respond slowly or inconsistently? A: Start by checking RF signal strength for wireless shades, verifying QS Link connections for wired installations, and confirming processor firmware is current. Our troubleshooting community thread covers common issues and solutions.
Need Personalized Guidance?
Every HomeWorks QS installation presents unique challenges—architectural constraints, client preferences, integration requirements, and budget considerations all influence the optimal approach.
Chat with our AI agent for tailored setup recommendations. Whether you're specifying a new project, troubleshooting an existing installation, or exploring upgrade options, our AI assistant draws on extensive HomeWorks QS expertise to provide actionable guidance specific to your situation.
Elevate Your Integration Expertise
The best practices outlined here represent the foundation of professional HomeWorks QS shade integration. But the learning never stops—new firmware releases, product announcements, and integration techniques emerge regularly.
IxomeAI Pro members gain access to advanced training modules, priority support from certified HomeWorks programmers, and exclusive community forums where top integrators share their most sophisticated techniques. If you're serious about delivering exceptional HomeWorks QS installations that generate referrals and repeat business, explore IxomeAI Pro membership and join the community of elite smart home professionals.
Your clients deserve shade automation that works flawlessly, day after day, year after year. With the right knowledge and attention to detail, you can deliver exactly that.

