Ixome — the future of home automation. Older system? We upgrade it remotely.Upgrade my system →See it live →
IXome
← Back to Community
Lutron HomeWorks QS Complete Installation Guide 2026: Expert Strategies for Flawless Integration

Lutron HomeWorks QS Complete Installation Guide 2026: Expert Strategies for Flawless Integration

@IxomeExpert7 min read

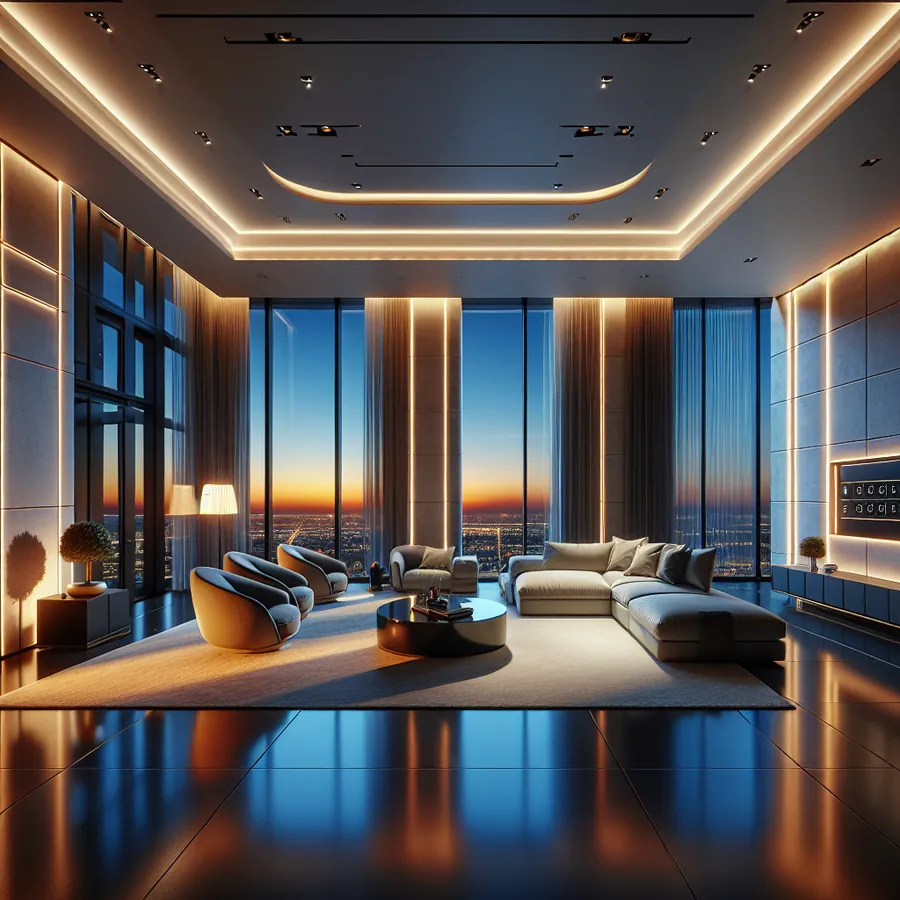
There's a moment in every high-end smart home project when the lighting transforms from functional necessity into architectural poetry. That moment typically arrives courtesy of Lutron HomeWorks QS—the gold standard in precision lighting control that has graced everything from Manhattan penthouses to Mediterranean estates. But here's what separates a good installation from an extraordinary one: understanding not just what to install, but how to architect a system that will evolve gracefully for decades.

As certified HomeWorks dealers with hundreds of installations under our belt, we've witnessed the platform mature into something remarkable for 2026. The latest QSX processor generation, enhanced integration protocols, and AI-ready architecture have elevated HomeWorks from premium lighting control to the neural center of truly intelligent homes. This guide distills our field experience into actionable intelligence—whether you're a seasoned integrator or a discerning homeowner preparing for your first consultation.

Understanding the 2026 HomeWorks QS Ecosystem

Before diving into installation specifics, let's establish what makes the current HomeWorks QS platform exceptional. Unlike consumer-grade smart lighting, HomeWorks operates on a dedicated, enterprise-grade network architecture that prioritizes reliability above all else.

Core System Components

Component Function 2026 Model Key Specifications
QSX Processor System brain QSX-P4 512 zones, native Matter support
Power Modules Load control LQSE-4A-D 4-zone, 8A per zone, adaptive phase
Keypads User interface seeTouch QS Capacitive touch, ambient light sensor
Occupancy Sensors Automation trigger LRF3-OCRB Dual-tech PIR + ultrasonic
Shading Daylight management Palladiom QS Whisper-quiet, precision positioning
Integration Hub Third-party bridge QSX-INT REST API, native drivers

Network Architecture Requirements

Requirement Specification Notes
Dedicated VLAN Recommended Isolates QS traffic
PoE+ Switches IEEE 802.3at For QSX processors
Bandwidth 100Mbps minimum Per processor
Latency <10ms For responsive control
IP Reservation Static or DHCP reservation Critical for integration stability

Pre-Installation Planning: The Foundation of Success

Every exceptional HomeWorks installation begins months before the first wire is pulled. Our community members frequently discuss planning strategies in our HomeWorks Project Planning thread—and the consensus is clear: thorough preparation prevents 90% of installation headaches.

Lighting Load Audit

Document every fixture in the project with these critical details:

  1. Fixture type and wattage - LED, incandescent, fluorescent, or mixed
  2. Driver compatibility - For LED fixtures, verify 0-10V, ELV, or DALI compatibility
  3. Minimum load requirements - Some dimmers require minimum wattage
  4. Inrush current - LED drivers can draw 10-20x steady-state current at startup

Zone Planning Matrix

Room Type Recommended Zones Typical Scenes Integration Priority
Primary Suite 6-8 Wake, relax, intimate, reading Shades, HVAC, audio
Kitchen 4-6 Cooking, dining, cleaning, ambient Ventilation, under-cabinet
Home Theater 3-5 Movie, intermission, cleaning AV system, acoustic panels
Outdoor Living 4-8 Entertaining, security, pathway, moonlight Landscape audio, pool
Home Office 3-4 Focus, video call, presentation Shades, display, camera

Step-by-Step Installation Guide

Phase 1: Infrastructure Preparation

Week 1-2: Rough-In Stage

The rough-in phase establishes your system's physical foundation. Unlike retrofit scenarios, new construction offers the luxury of optimal wire routing.

  1. Install dedicated conduit runs from the electrical panel to each HomeWorks enclosure location
  2. Pull Cat6A cabling to every keypad and sensor location—even if initially using wireless devices
  3. Position enclosures in climate-controlled spaces with adequate ventilation
  4. Label everything obsessively—your future self will thank you during commissioning

Pro Tip: We always recommend pulling an extra pair of conductors to each switch location. The marginal cost during rough-in is negligible compared to retrofit expenses later.

Phase 2: Equipment Installation

Week 3-4: Hardware Mounting

  1. Mount QSX processors in the designated enclosure, ensuring adequate spacing for heat dissipation
  2. Install power modules following Lutron's torque specifications (typically 7 in-lbs for load connections)
  3. Connect network infrastructure with proper cable management and service loops
  4. Install keypads and sensors using provided mounting hardware—avoid over-tightening decorative plates

Phase 3: System Programming

Week 5-6: Software Configuration

This is where HomeWorks transforms from hardware into an intelligent system. Programming requires Lutron's HomeWorks QS Design Software, available exclusively to certified dealers.

  1. Create the project database with accurate room names and zone assignments
  2. Configure load types for each dimmer—this ensures proper dimming curves and minimum levels
  3. Program scenes starting with basic presets, then refining based on client feedback
  4. Establish timeclock events for automated daily rhythms
  5. Configure integration points for third-party systems

For detailed programming discussions, our HomeWorks Programming Deep Dive thread offers invaluable peer insights.

Phase 4: Integration Configuration

Week 7-8: System Unification

Modern HomeWorks installations rarely exist in isolation. The 2026 QSX platform offers unprecedented integration flexibility.

Integration Type Protocol Typical Use Case Complexity
Control4 SDDP/IP Unified control interface Medium
Crestron IP/RS-232 Commercial-grade automation High
Savant IP Apple-centric homes Medium
Josh.ai Native driver Voice control Low
Home Assistant REST API DIY enthusiasts Medium
Apple HomeKit Matter bridge iOS ecosystem Low

Integration Best Practice: Always establish HomeWorks as the lighting authority. Third-party systems should request lighting changes rather than directly controlling loads. This preserves scene integrity and ensures consistent behavior.

Future-Proofing: AI and Smart Home Evolution

The 2026 HomeWorks platform arrives at an inflection point in smart home evolution. With native Matter support and enhanced API capabilities, your installation is positioned to embrace emerging technologies.

AI-Driven Lighting Intelligence

The convergence of AI and lighting control is no longer theoretical. Current implementations include:

  • Circadian rhythm automation that adjusts color temperature based on time of day and occupant preferences
  • Predictive scene activation using occupancy patterns and calendar integration
  • Energy optimization algorithms that balance comfort with consumption
  • Natural language scene creation through voice assistants

Preparing for Tomorrow

To maximize your installation's longevity:

  1. Specify tunable white fixtures where budget permits—AI-driven circadian lighting requires color temperature control
  2. Install sensors generously—AI systems improve with more environmental data
  3. Document your API endpoints—future integrations will leverage these connections
  4. Maintain firmware currency—Lutron's update cadence continues accelerating

Our Future of Lighting Control thread explores these developments in depth.

Troubleshooting Common Installation Challenges

LED Compatibility Issues

Symptom: Flickering, buzzing, or limited dimming range

Solution: Verify LED driver compatibility with Lutron's published compatibility lists. When in doubt, specify Lutron-tested fixtures or install adaptive phase dimming modules.

Network Communication Failures

Symptom: Intermittent keypad response or scene execution delays

Solution: Isolate QS traffic on a dedicated VLAN, verify PoE budget on network switches, and confirm proper IP addressing.

Integration Synchronization Problems

Symptom: Third-party systems show incorrect lighting states

Solution: Implement bidirectional feedback in your integration code and establish HomeWorks as the source of truth for all lighting states.

Frequently Asked Questions

What is the typical cost range for a whole-home HomeWorks QS installation?

Residential HomeWorks installations typically range from $50,000 to $250,000+ depending on home size, zone count, and integration complexity. A 5,000 square foot home with 80-120 zones, integrated shading, and comprehensive automation generally falls in the $100,000-$150,000 range including equipment, programming, and installation labor.

Can I install HomeWorks QS myself, or do I need a certified dealer?

HomeWorks QS is exclusively available through Lutron-certified dealers. This isn't arbitrary gatekeeping—the system's complexity and the programming software's learning curve genuinely require professional expertise. However, informed homeowners who understand the system make better clients and achieve superior results.

How does HomeWorks QS compare to RadioRA 3 for high-end homes?

RadioRA 3 is Lutron's prosumer platform, offering excellent performance for homes up to approximately 100 devices. HomeWorks QS scales to 10,000+ devices, offers more granular programming control, supports enterprise-grade integration protocols, and provides the reliability demanded by ultra-high-end installations. For homes exceeding 4,000 square feet or requiring complex integration, HomeWorks is typically the appropriate choice.

What warranty coverage does HomeWorks QS include?

Lutron provides an 8-year warranty on HomeWorks QS components—significantly exceeding industry norms. This warranty covers manufacturing defects and component failures under normal use conditions.

Can HomeWorks QS integrate with my existing smart home system?

Yes, extensively. The QSX platform offers native integration with Control4, Crestron, Savant, and other major automation platforms. REST API access enables custom integrations with virtually any IP-capable system, including Home Assistant and custom solutions.

How long does a typical HomeWorks installation take?

New construction installations typically span 6-10 weeks from rough-in through final commissioning. Retrofit projects vary significantly based on existing infrastructure but generally require 4-8 weeks for comparable scope.

Your Next Step: Personalized Guidance

Every HomeWorks installation presents unique challenges and opportunities. While this guide provides a comprehensive foundation, your specific project deserves tailored attention.

Chat with our AI agent for personalized setup recommendations. Our intelligent assistant can analyze your project parameters, suggest optimal configurations, and connect you with relevant community discussions—available 24/7 for immediate guidance.

For integrators and homeowners seeking deeper expertise, our IxomeAI Pro membership unlocks advanced resources: detailed programming templates, exclusive dealer forums, priority support access, and early access to emerging integration techniques. The professionals achieving exceptional results consistently leverage these premium resources.

Your HomeWorks installation represents a significant investment in your home's intelligence and ambiance. With proper planning, expert execution, and ongoing optimization, it will deliver decades of reliable, beautiful lighting control. Welcome to the pinnacle of residential lighting—we're honored to guide your journey.

Ready to go Pro?

Priority agent access, done-for-you upgrades, and a real quote for your home.

Let's Talk with Einstein