
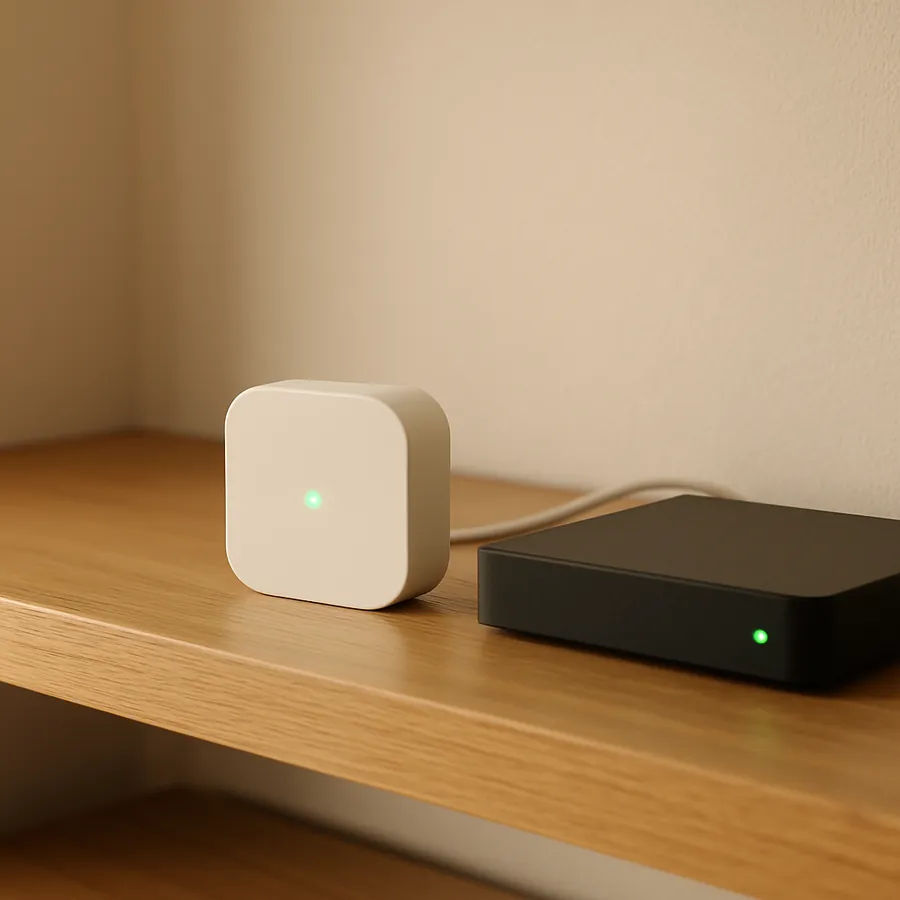
Lutron Caséta Control4 Integration Guide 2026: Complete Setup & Configuration
If you're building a sophisticated smart home ecosystem in 2026, the marriage between Lutron Caséta lighting control and Control4 automation represents one of the most powerful combinations available today. This integration brings together Lutron's legendary reliability in lighting control with Control4's comprehensive whole-home automation capabilities, creating an experience that's greater than the sum of its parts.
At IxomeAI, we've guided countless homeowners and integrators through this exact setup process. Whether you're a DIY enthusiast ready to tackle this project yourself or a professional installer looking for updated 2026 specifications, this comprehensive guide covers everything you need to know about integrating Lutron Caséta with Control4 systems.
Why Integrate Lutron Caséta with Control4?
Before diving into the technical details, let's understand why this integration makes sense for modern smart homes.
Lutron Caséta has earned its reputation as the gold standard for wireless lighting control. With its proprietary Clear Connect RF technology, Caséta delivers rock-solid reliability that Wi-Fi-based systems simply cannot match. The system operates on a dedicated frequency band, eliminating interference from your home network and ensuring lights respond instantly, every time.
Control4, meanwhile, excels at unifying disparate smart home systems under one intuitive interface. When you integrate Caséta with Control4, you unlock advanced automation scenarios that neither system could achieve alone. Imagine your lights automatically adjusting based on time of day, occupancy, and even weather conditions—all controlled from a single touchscreen or voice command.
Compatibility Requirements for 2026
Before purchasing any equipment, verify that your components meet the current compatibility requirements. Lutron and Control4 have updated their integration protocols for 2026, so ensuring you have the right hardware and firmware versions is essential.
Lutron Caséta Hardware Compatibility
| Device | Model Number | Compatibility Status | Notes |
|---|---|---|---|
| Smart Bridge Pro | L-BDGPRO2-WH | Fully Compatible | Required for Control4 integration |
| Smart Bridge (Standard) | L-BDG2-WH | Not Compatible | Does not support third-party integration |
| Caséta Dimmer | PD-6WCL-WH | Fully Compatible | Works with all bulb types |
| Caséta Switch | PD-6ANS-WH | Fully Compatible | For non-dimmable loads |
| Caséta Fan Control | PD-FSQN-WH | Fully Compatible | Four-speed control |
| Pico Remote | PJ2-3BRL-WH-L01 | Fully Compatible | Can trigger Control4 scenes |
| Serena Shades | Various | Fully Compatible | Via Smart Bridge Pro |
| Caséta Outdoor Plug | PD-15OUT-BL | Fully Compatible | Weather-resistant design |
Control4 System Requirements
| Component | Minimum Requirement | Recommended | Notes |
|---|---|---|---|
| Controller | EA-1 or higher | EA-3 or EA-5 | More powerful controllers handle larger installations |
| OS Version | OS 3.4.0 | OS 3.5.2 (2026) | Latest version includes enhanced Lutron driver |
| Lutron Driver | v2024.1.15 | v2026.2.0 | Available through Control4 dealer portal |
| Network | Stable LAN connection | Dedicated VLAN | Smart Bridge Pro must be on same network as controller |
Step-by-Step Integration Guide
Step 1: Install and Configure the Lutron Smart Bridge Pro
The Smart Bridge Pro serves as the communication hub between your Caséta devices and Control4 system. Standard Smart Bridges lack the Telnet integration capability required for Control4 connectivity, so the Pro version is non-negotiable.
Physical Installation: Connect the Smart Bridge Pro to your router using the included Ethernet cable. While the device supports Wi-Fi, a wired connection ensures the most reliable integration performance.
Power Up: Plug the Smart Bridge Pro into a nearby outlet. The LED indicators will cycle through startup sequences.
Download the Lutron App: Install the Lutron app on your smartphone and create an account. Follow the in-app instructions to add the Smart Bridge Pro to your account.
Enable Telnet Integration: This critical step is often overlooked. Within the Lutron app, navigate to Settings > Advanced > Integration. Enable the integration protocol and note the IP address assigned to your Smart Bridge Pro.
Add Caséta Devices: Using the Lutron app, pair all your dimmers, switches, Pico remotes, and other Caséta devices. Organize them into rooms for easier management later.
Step 2: Configure Network Settings
Proper network configuration prevents the majority of integration headaches we see at IxomeAI.
Assign a Static IP: Log into your router and assign a static IP address to the Smart Bridge Pro. This prevents the IP from changing and breaking the Control4 connection.
Document the IP Address: Record this IP address—you'll need it when configuring the Control4 driver.
Verify Connectivity: From a computer on the same network, open a command prompt and ping the Smart Bridge Pro's IP address. Consistent responses confirm proper network connectivity.
Firewall Considerations: Ensure your network firewall allows communication on port 23 (Telnet) between the Control4 controller and Smart Bridge Pro.
Step 3: Install the Lutron Driver in Control4
This step requires Composer Pro software, which is typically handled by your Control4 dealer. However, understanding the process helps you communicate effectively with your integrator.
Access Composer Pro: Your dealer will connect to your Control4 system using Composer Pro software.
Add the Lutron Driver: Navigate to the Drivers section and search for "Lutron Caséta" or "Lutron RadioRA." The 2026 driver package supports both systems.
Configure Connection Settings: Enter the Smart Bridge Pro's static IP address in the driver configuration panel.
Authenticate the Connection: The driver will establish a Telnet connection to the Smart Bridge Pro. A successful connection shows a green status indicator.
Import Devices: The driver automatically discovers all devices paired with your Smart Bridge Pro. Review the imported device list for accuracy.
Step 4: Map Devices to Rooms
With devices imported, you'll organize them within Control4's room structure.
Create Room Structure: If not already configured, establish your home's room layout in Composer Pro.
Assign Devices: Drag each imported Caséta device to its appropriate room. This enables room-based control and automation.
Configure Device Properties: Set default levels, ramp rates, and other device-specific parameters.
Test Basic Control: Use the Control4 app or touchscreen to verify each device responds correctly.
Step 5: Build Advanced Automations
Now the real magic happens. Control4's programming capabilities transform your Caséta lighting into an intelligent system.
Scene Integration: Create lighting scenes that combine multiple Caséta devices with other Control4-connected systems. A "Movie Night" scene might dim the living room lights, lower motorized shades, and power on your home theater.
Schedule-Based Automation: Program lights to follow daily patterns. Morning routines can gradually brighten bedroom lights, while evening schedules create ambient settings throughout the home.
Occupancy Response: Integrate motion sensors to trigger Caséta lighting automatically. Hallway lights illuminate when you walk through at night, then fade after you pass.
Pico Remote Programming: Transform Pico remotes into powerful scene controllers. A single button press can execute complex multi-room lighting changes or trigger whole-home automation sequences.
Troubleshooting Common Issues
Even well-planned integrations occasionally encounter challenges. Here are solutions to the most frequent problems:
Connection Drops Intermittently This typically indicates network instability. Verify the Smart Bridge Pro maintains its static IP assignment and check for IP conflicts. Upgrading to a managed network switch often resolves persistent connectivity issues.
Devices Not Discovered Ensure all devices are properly paired in the Lutron app before attempting Control4 discovery. The driver only imports devices registered with the Smart Bridge Pro.
Slow Response Times Network congestion can delay commands. Consider implementing VLANs to separate smart home traffic from general network usage. Also verify your Control4 controller isn't overloaded with excessive programming.
Pico Remotes Not Triggering Scenes Pico button programming requires specific driver configuration. Confirm button events are properly mapped in Composer Pro.
Frequently Asked Questions
Can I integrate Caséta with Control4 without a dealer? Unfortunately, no. Control4's Composer Pro software is only available to authorized dealers. However, you can complete all Lutron-side preparation yourself, minimizing dealer time and costs.
Does this integration work with Lutron RadioRA 3? Yes, Control4 supports RadioRA 3 through a similar integration process. RadioRA 3 offers expanded device capacity and additional features for larger installations.
Will my Lutron app still work after Control4 integration? Absolutely. The Lutron app continues functioning normally alongside Control4 control. Both systems communicate with the Smart Bridge Pro independently.
How many Caséta devices can Control4 control? The Smart Bridge Pro supports up to 75 devices, and Control4 can manage all of them. For larger installations, consider RadioRA 3, which supports up to 200 devices per processor.
Is there any subscription required for this integration? No ongoing subscription is required for the core integration. However, Control4's 4Sight service (optional) enables remote access and cloud features.
Can I use voice control with this setup? Yes. Control4 integrates with Amazon Alexa and Google Assistant, enabling voice control of your Caséta lighting through the Control4 system.
Professional Tips for Optimal Performance
After years of implementing these systems, we've gathered insights that separate good installations from great ones:
Document Everything: Maintain detailed records of IP addresses, device locations, and programming logic. This documentation proves invaluable for future modifications or troubleshooting.
Plan for Expansion: Leave headroom in your Smart Bridge Pro capacity for future additions. Starting with 50 devices on a 75-device limit creates unnecessary constraints.
Test Thoroughly: Before considering the project complete, test every device from multiple control points. Verify app control, touchscreen control, voice commands, and automated triggers all function correctly.
Consider Backup Power: A small UPS protecting your Smart Bridge Pro and Control4 controller maintains lighting control during brief power interruptions.
Ready to Get Started?
Integrating Lutron Caséta with Control4 delivers a premium smart home experience that combines bulletproof reliability with sophisticated automation capabilities. While the process requires attention to detail and proper planning, the results justify the effort.
Whether you're planning a new installation or upgrading an existing system, having expert guidance makes all the difference. Our AI assistant at IxomeAI is available around the clock to answer your specific questions about Lutron and Control4 integration. From equipment selection to troubleshooting complex programming scenarios, chat with our AI agent to get personalized recommendations tailored to your unique situation.
Your dream smart home is closer than you think—and we're here to help you build it.
