Ixome — the future of home automation. Older system? We upgrade it remotely.Upgrade my system →See it live →
IXome
← Back to Community
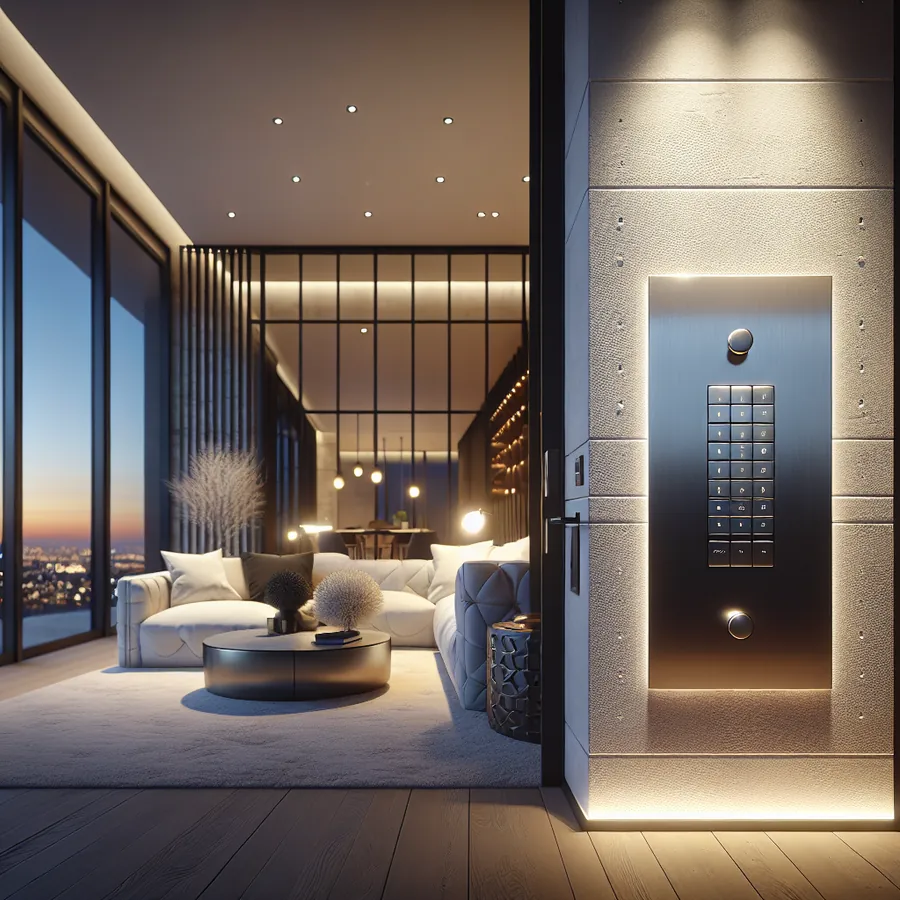
HomeWorks QS Architectural Keypad Placement Guide: Expert Strategies for Seamless Luxury Control

HomeWorks QS Architectural Keypad Placement Guide: Expert Strategies for Seamless Luxury Control

@IxomeExpert7 min read

There's a moment in every luxury home project when the lighting design transitions from concept to reality—and that moment often hinges on one critical decision: where exactly do you place your HomeWorks QS keypads?

As authorized HomeWorks dealers with decades of combined experience, we've seen how proper keypad placement can transform a good lighting system into an extraordinary one. Conversely, we've witnessed beautiful homes undermined by keypads that feel like afterthoughts—awkwardly positioned, inconsistently spaced, or simply in the wrong location for how the homeowner actually lives.

This comprehensive guide distills our field expertise into actionable strategies that will help you achieve professional-grade keypad placement, whether you're working with a Lutron dealer or tackling a sophisticated DIY installation.

Understanding HomeWorks QS Keypad Architecture

Before diving into placement strategies, let's establish a foundation. The HomeWorks QS system offers several keypad families, each with distinct aesthetic and functional characteristics that influence placement decisions.

Keypad Family Compatibility Matrix

Keypad Series Button Options Faceplate Styles Best Application Gang Size
seeTouch 1-10 buttons Designer, Architectural Primary room control 1-3 gang
Palladiom 1-6 buttons Metal, Glass Ultra-luxury, minimalist 1-2 gang
Alisse 1-5 buttons Wall-mounted Contemporary European Surface mount
International seeTouch 1-10 buttons Regional standards Global projects Varies

Faceplate Material Compatibility

Material Environment Suitability Cleaning Requirements Design Style Match
Satin Brass Dry interior Soft cloth only Traditional, transitional
Polished Chrome All interior Glass cleaner safe Modern, contemporary
Satin Nickel All interior Soft cloth Transitional, coastal
Matte Black All interior Fingerprint-prone Modern, industrial
White/Almond Plastic All environments Any cleaner Budget-conscious, utility
Custom Metal Varies Per specification Bespoke luxury

The Golden Rules of Keypad Placement

Rule 1: The 42-48 Inch Standard

Mount keypads with the center button cluster at 42-48 inches above finished floor (AFF). This height accommodates the vast majority of users while maintaining ADA compliance considerations. For homes with specific accessibility requirements, 36-44 inches may be more appropriate.

Pro Tip: In our IxomeAI community thread on accessibility-focused installations, members have shared detailed case studies on balancing aesthetics with universal design principles.

Rule 2: The Strike-Side Principle

Position keypads on the strike side of doors (the side opposite the hinges) at a consistent distance from the door frame—typically 2-4 inches. This placement ensures:

  • Natural hand position when entering
  • Consistent visual alignment throughout the home
  • Clearance from door swing

Rule 3: The Hierarchy of Control

Not all keypads serve the same purpose. Establish a clear hierarchy:

Control Level Keypad Type Typical Location Button Count
Primary Entry seeTouch/Palladiom Main room entrance 6-10 buttons
Secondary Entry seeTouch Additional doorways 3-6 buttons
Bedside Palladiom/seeTouch Nightstand height 2-4 buttons
Specialty Alisse/Custom Unique applications Varies

Room-by-Room Placement Strategies

Living Areas and Great Rooms

Great rooms present unique challenges due to multiple entry points and diverse activities. Our recommended approach:

  1. Identify the primary entry point—this receives your most comprehensive keypad (typically 6-10 buttons)
  2. Map secondary entries—each gets a simplified keypad with core scenes
  3. Consider furniture placement—ensure keypads remain accessible regardless of seasonal furniture rearrangement
  4. Account for sight lines—keypads should be visible but not visually dominant

Integration Note: When combining HomeWorks QS with motorized shades, consider placing shade controls adjacent to lighting keypads for intuitive grouped control. Our shade integration discussion thread covers advanced strategies.

Master Bedrooms

Bedroom keypad placement requires particular sensitivity to lifestyle patterns:

Entry Keypad (Strike Side)

  • All On scene
  • All Off scene
  • Evening/Relax scene
  • Pathway lighting

Bedside Keypads (Both Sides)

  • Mount at 24-28 inches AFF (nightstand surface height)
  • Include individual reading light control
  • Master Off button (whole-house or bedroom zone)
  • Pathway/night light activation

Kitchens

Kitchen environments demand strategic thinking about workflow and task lighting:

Location Purpose Recommended Scenes
Primary entry Overall control Cooking, Dining, Cleaning, All Off
Pantry entry Task-specific Pantry On/Off
Near range Safety/task Task Bright, Exhaust Fan (if integrated)
Breakfast nook Dining ambiance Morning, Casual Dining

Critical Consideration: Maintain minimum 12-inch clearance from cooktops and sinks to protect keypads from heat and moisture exposure.

Bathrooms

Bathroom installations require careful attention to electrical codes and moisture management:

  • Position keypads outside the "wet zone" (typically 36+ inches from shower/tub)
  • Consider humidity-resistant faceplate materials
  • Include exhaust fan integration where applicable
  • Provide night-light scenes for safe navigation

Step-by-Step Integration Guide

Phase 1: Pre-Construction Planning

Step 1: Obtain architectural floor plans and electrical drawings

Step 2: Conduct a lifestyle interview with homeowners covering:

  • Daily routines and traffic patterns
  • Entertainment preferences
  • Accessibility requirements
  • Aesthetic priorities

Step 3: Create a preliminary keypad location map using the hierarchy principles above

Step 4: Coordinate with the electrical contractor on:

  • Low-voltage wiring runs
  • Junction box placement
  • Conduit requirements (for future-proofing)

Phase 2: Rough-In Coordination

Step 5: Verify junction box heights match your 42-48 inch standard

Step 6: Confirm strike-side positioning at all doorways

Step 7: Document any deviations with photos and measurements

Step 8: Install low-voltage wiring with appropriate service loops (minimum 12 inches)

Phase 3: Trim-Out and Programming

Step 9: Install keypads following Lutron's torque specifications

Step 10: Program scenes using the HomeWorks QS software, starting with:

  • Individual zone control
  • Basic scenes (All On, All Off)
  • Lifestyle scenes (Morning, Evening, Entertain)

Step 11: Fine-tune button LED intensity and timeout settings

Step 12: Conduct client walkthrough and training

For detailed programming guidance, our HomeWorks QS programming fundamentals thread provides excellent community-sourced tips.

Future-Proofing: AI and Smart Home Integration

The HomeWorks QS platform continues evolving, and thoughtful keypad placement today sets the foundation for tomorrow's capabilities.

Voice Assistant Integration

With native support for major voice platforms, physical keypads increasingly serve as backup control and visual scene confirmation. Consider:

  • Placing keypads where voice control may be impractical (noisy environments, privacy-sensitive areas)
  • Using keypad LEDs as visual feedback for voice-activated scenes
  • Programming "voice assist" buttons that trigger listening mode on nearby smart speakers

Predictive Automation

Emerging AI capabilities will enable HomeWorks systems to anticipate user needs based on patterns. Strategic keypad placement supports this by:

  • Providing manual override points for AI-suggested scenes
  • Enabling occupancy pattern learning through button press analytics
  • Offering tactile confirmation of automated adjustments

Integration with Emerging Technologies

Technology Integration Potential Keypad Role
Circadian Lighting Native support expanding Scene triggering, manual override
Presence Detection Via Lutron sensors Backup control, pattern learning
Energy Management Growing capability Real-time feedback, eco-mode activation
Health/Wellness Emerging partnerships Wellness scene activation

Chat with our AI agent for tailored recommendations on future-proofing your specific installation. Our intelligent assistant can analyze your floor plans and suggest optimal keypad configurations based on thousands of successful projects.

Frequently Asked Questions

What is the ideal height for HomeWorks QS keypad installation?

The industry standard is 42-48 inches above finished floor (AFF) to the center of the button cluster. This height provides comfortable reach for most users while maintaining visual consistency with other wall-mounted controls. For ADA-compliant installations, consider 36-44 inches AFF.

Can HomeWorks QS keypads be installed outdoors?

Standard HomeWorks QS keypads are designed for interior use only. For outdoor applications, Lutron offers weather-resistant solutions, or keypads can be installed in protected locations such as covered porches with appropriate NEMA-rated enclosures. Always consult local electrical codes.

How many keypads should a typical room have?

Most rooms benefit from one primary keypad at the main entry point. Larger spaces with multiple entries may require two or three keypads. Bedrooms typically include an entry keypad plus bedside controls. The key is ensuring convenient access from all common positions within the space.

What is the recommended distance between a keypad and door frame?

Position keypads 2-4 inches from the door frame on the strike side (opposite the hinges). This provides natural hand positioning when entering while maintaining visual alignment with the door casing.

Can HomeWorks QS keypads control devices beyond lighting?

Yes, HomeWorks QS keypads can trigger scenes that include motorized shades, HVAC setpoints (via integration), audio/video systems, and other connected devices. The system's integration capabilities continue expanding with each software update.

How do I choose between seeTouch and Palladiom keypads?

SeeTouch keypads offer more button configurations and broader faceplate options at a lower price point—ideal for most applications. Palladiom keypads feature premium materials (metal, glass) and minimalist aesthetics suited for ultra-luxury installations where design is paramount.

Elevating Your Installation Expertise

Proper keypad placement represents the intersection of technical knowledge, design sensibility, and deep understanding of how people actually live in their homes. The strategies outlined here provide a solid foundation, but every project presents unique challenges and opportunities.

Our IxomeAI community brings together HomeWorks professionals and enthusiasts who share real-world insights daily. From troubleshooting tricky installations to showcasing innovative solutions, the collective expertise available is unmatched.

Ready to take your HomeWorks expertise to the next level? Our Pro membership unlocks advanced training modules, direct access to certified Lutron programmers, and exclusive tools that streamline complex installations. Explore IxomeAI Pro and discover why leading integrators trust our platform for their most demanding projects.


This guide reflects current best practices as of the publication date. HomeWorks QS capabilities continue evolving—always verify specifications with current Lutron documentation.

Ready to go Pro?

Priority agent access, done-for-you upgrades, and a real quote for your home.

Let's Talk with Einstein